


How to Fix an iPhone Stuck on the Charging Screen?
An iPhone that is stuck on the charging screen can be a very annoying issue. There are a number of reasons why this can happen, from hardware malfunctions to software bugs. In this article, we’ll explore why your iPhone might be stuck on the charging screen and provide both basic and advanced solutions to help you fix the problem.
1. Why Is My iPhone Stuck on the Charging Screen?
There are several reasons why your iPhone might get stuck on the charging screen:
1) Software Glitches
- iOS Bugs : Sometimes, the iOS software might have bugs that cause your iPhone to freeze on the charging screen.
- Failed Updates : Incomplete or failed software updates can also lead to this issue.
2) Battery Issues
- Deep Discharge : If your battery is deeply discharged, it might take a while for the iPhone to show signs of life.
- Battery Health : A degraded battery might cause problems with charging and booting.
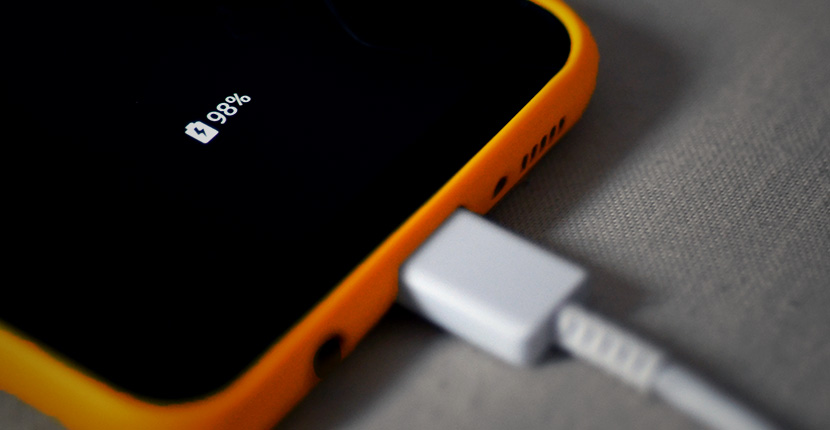
3) Charging Accessories
- Faulty Cables or Adapters : Damaged or non-certified charging cables and adapters can prevent your iPhone from charging correctly.
- Dirty Charging Port : Dirt and debris in the charging port can hinder the connection, causing charging troubles.
4) Hardware Problems
- Internal Damage : Drops or exposure to water can cause internal damage, leading to charging and booting issues.
- Component Failure : Any internal component failure can cause the iPhone to get stuck on the charging screen.
Now let’s explore how to resolve your iPhone is stucking on the charging screen.
Basic Methods to Fix an iPhone Stuck on the Charging Screen
Before moving on to advanced solutions, try these basic methods to fix your iPhone:
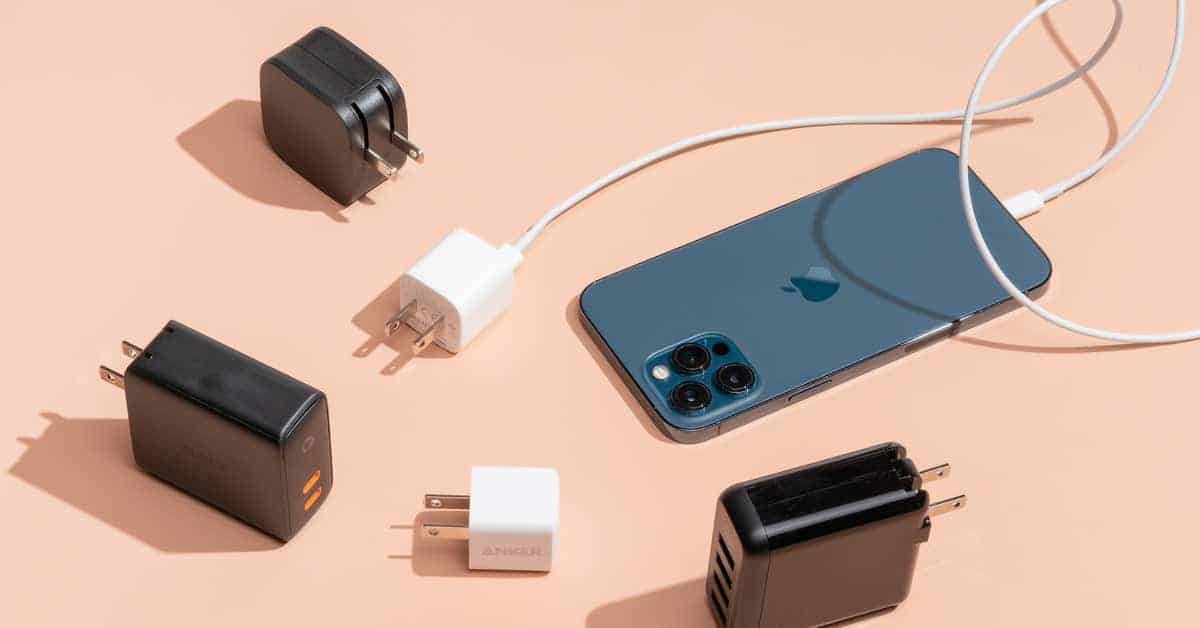
1) Check Charging Accessories
- Inspect for Damage : Check your charging cable and adapter for any visible damage. Replace them if necessary.
- Use Certified Accessories : Ensure you are using Apple-certified cables and adapters.
- Try a Different Outlet : Sometimes, the problem might be with the power outlet. See if it helps to charge your iPhone from an alternate outlet.
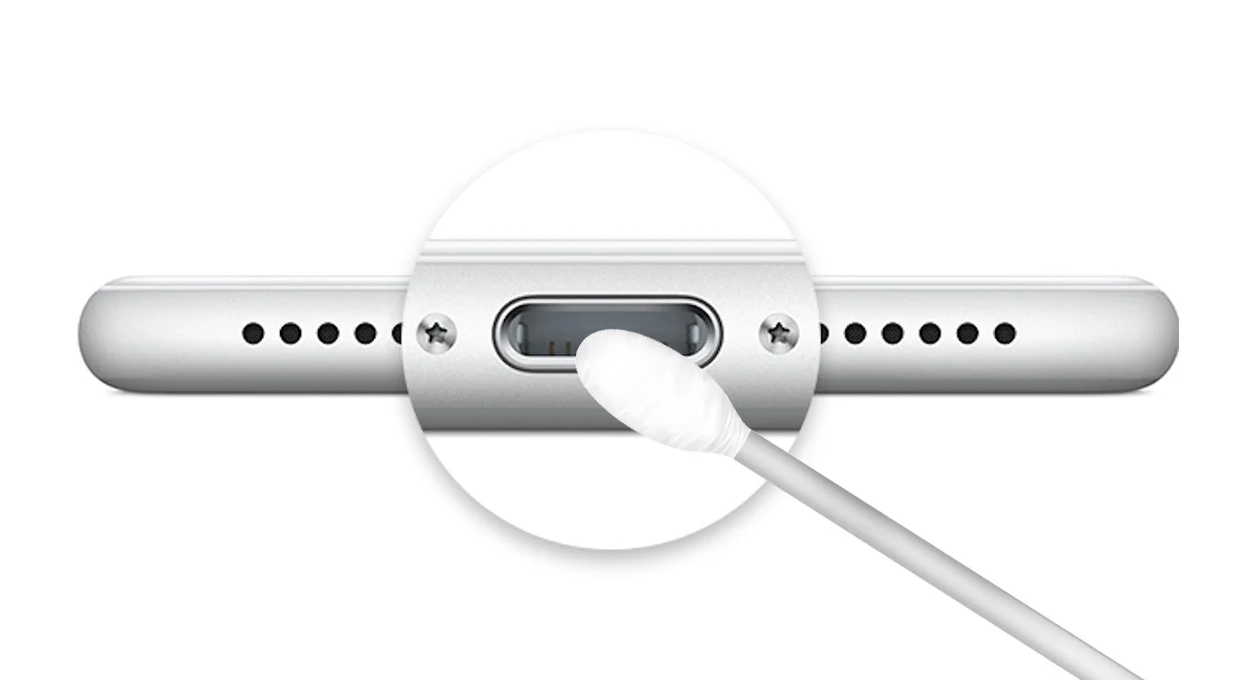
2) Clean the Charging Port
- Remove Debris : Use a soft brush or a toothpick to gently remove any debris from the charging port.
- Inspect for Damage : Check the charging port for any visible damage. If it is damaged, professional repair may be necessary.
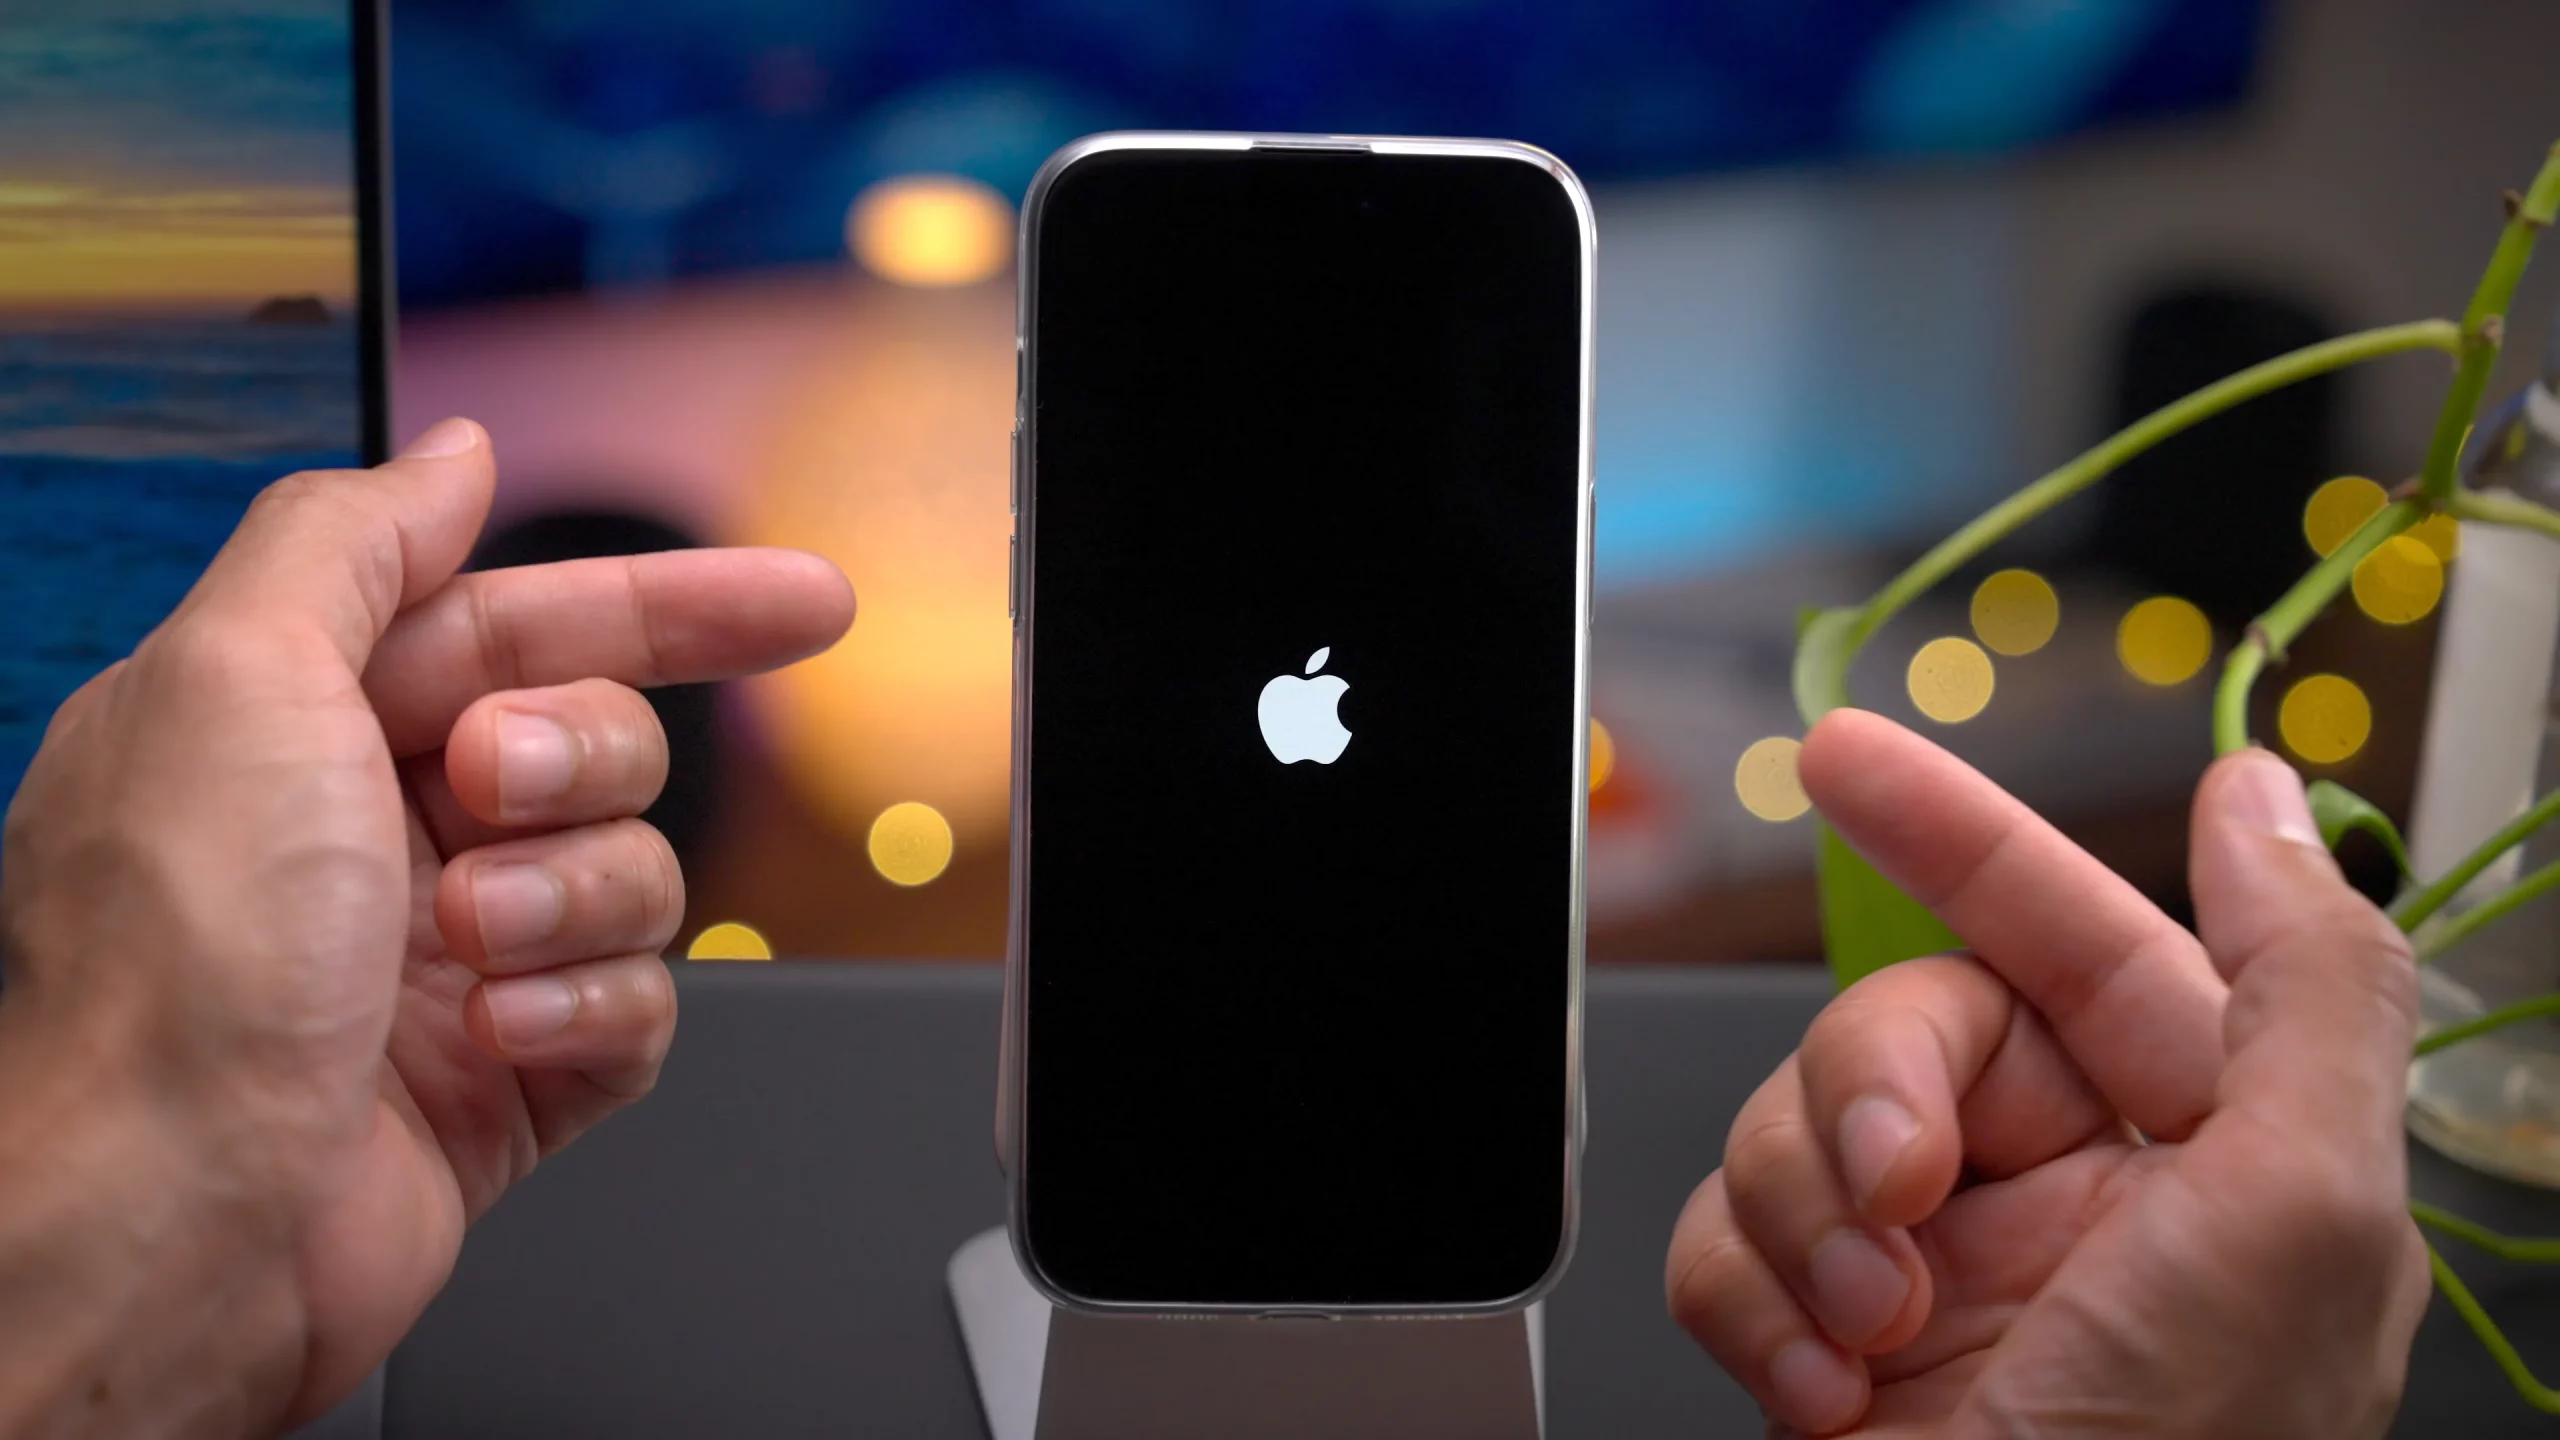
3) Force Restart Your iPhone
A force restart can resolve temporary software issues. Here’s how to do it:
- iPhone 8 or Later : Press and release the Volume Up and Volume Down buttons, followed by the Side button, until the Apple logo displays.
- iPhone 7 and 7 Plus : Press and hold the Volume Down button and the Sleep/Wake button simultaneously until the Apple logo appears.
- iPhone 6s or Earlier : Press and hold the Home button and the Sleep/Wake button simultaneously until the Apple logo appears.
4) Charge Your iPhone for a Longer Period
- Leave It Plugged In : Connect your iPhone to a power source using a reliable charger and leave it for at least an hour.
- Check the Screen : After an hour, check if the charging screen has changed or if the device shows any signs of life.
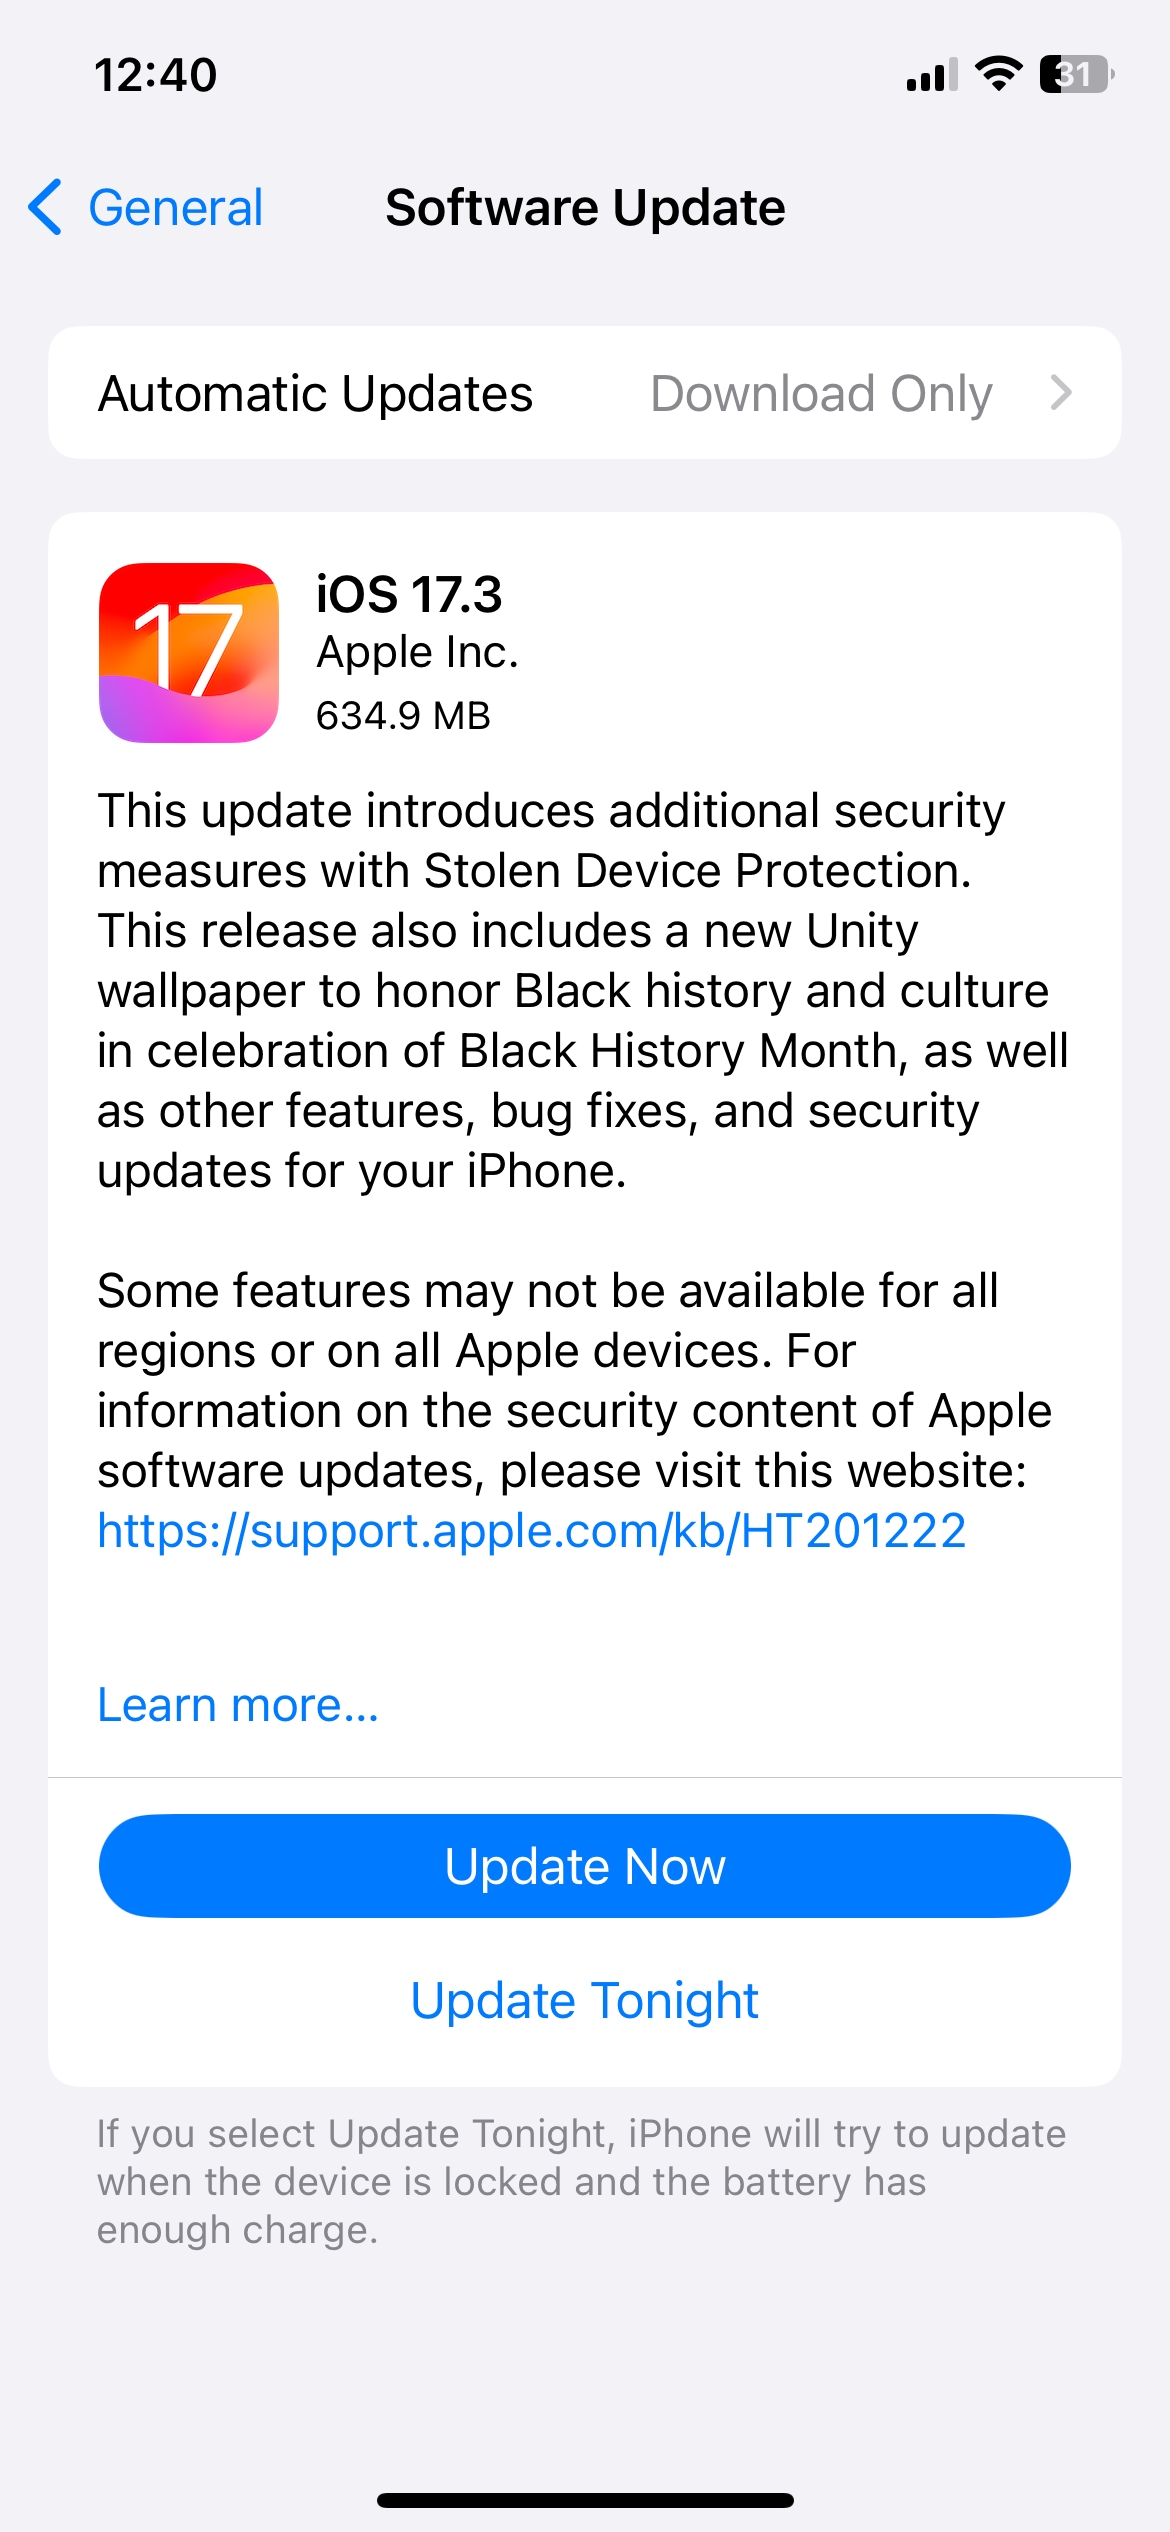
5) Update or Restore Using iTunes
- Update Your iPhone : Connect your iPhone to a computer with the latest version of iTunes. In iTunes, select your device, click “Check for Update,” and follow the prompts.
- Аднавіце свой iPhone : If updating doesn’t work, you might need to restore your iPhone. Backup your data if possible, then put your iPhone in recovery mode and click “Restore iPhone” in iTunes.
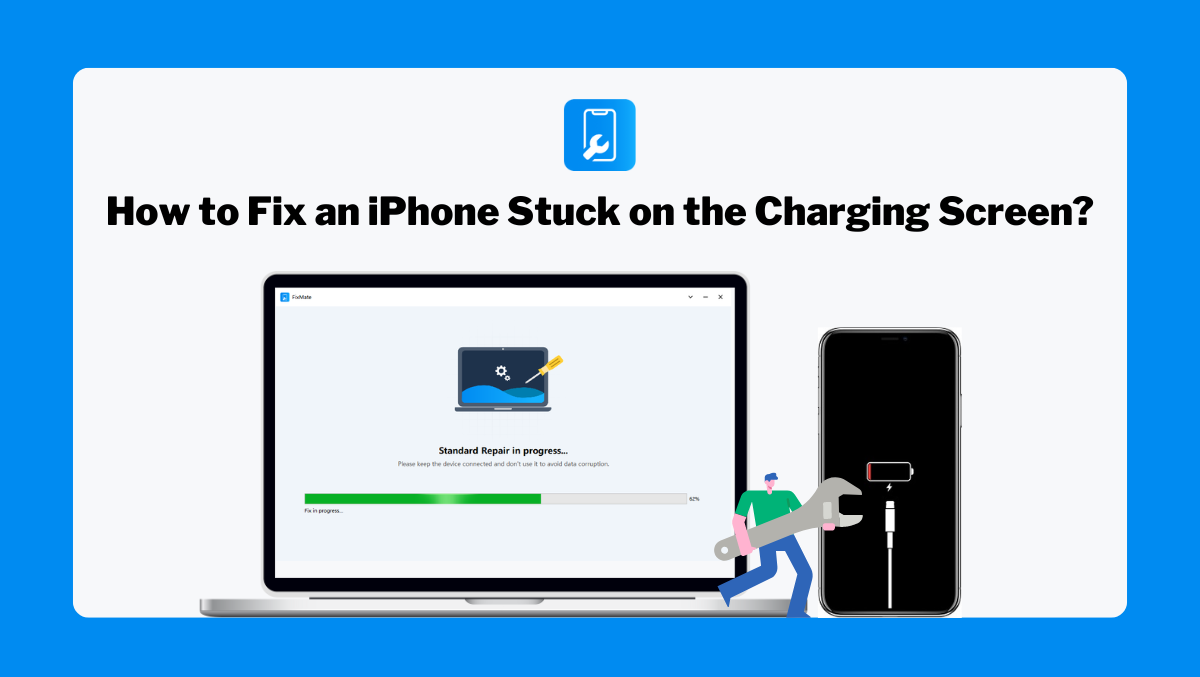
3. Advanced Fix an iPhone Stuck on the Charging Screen Using AimerLab FixMate
If basic methods don’t resolve the issue, you can use
AimerLab
FixMate
, a powerful tool designed to fix various iOS system problems without data loss, including an iPhone stuck on the charging screen. It’s user-friendly and effective for resolving problems that typical troubleshooting methods can’t fix.
Follow these steps to fox your iPhone stuck on the battery charging screen with AimerLab FixMate:
Крок 1
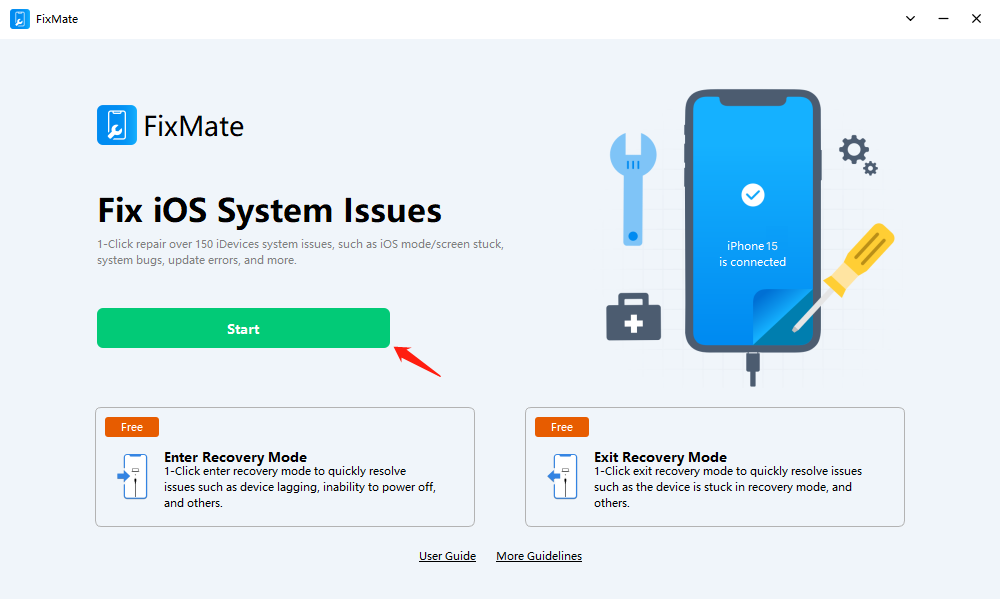
: Download and install AimerLab FixMate on your computer, then launch the program once the installation is complete.
Крок 2 : Connect your iPhone to your computer using a USB cable, and FixMate will detect and show your device on the main screen. Click on “ Увайдзіце ў рэжым аднаўлення ” if your iPhone is not already in recovery mode, and this will help the program detect and repair your device.
Then click on “ Пачаць ” under the AimerLab “ Выпраўленне сістэмных праблем iOS ” section, this will initiate the repair process designed to resolve various iOS problems your device may be experiencing.
Крок 3 : Opt for the “ Стандартны рамонт ” mode to initiate the resolution process for your iPhone charing screen stuck problem. If this mode is unable to fix the problem, you should try the “ Глыбокі рамонт ” option, which has a better success rate.
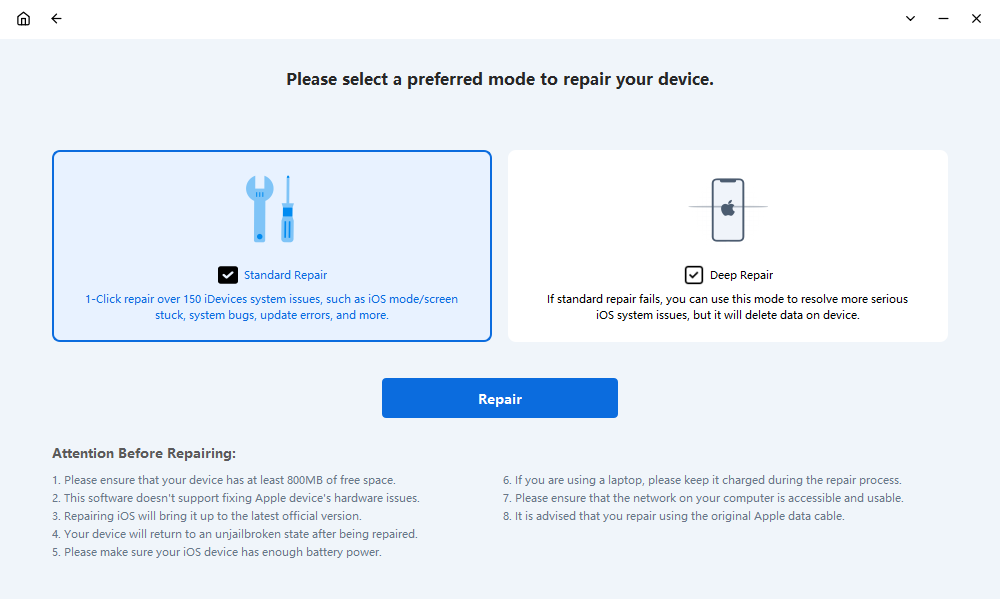
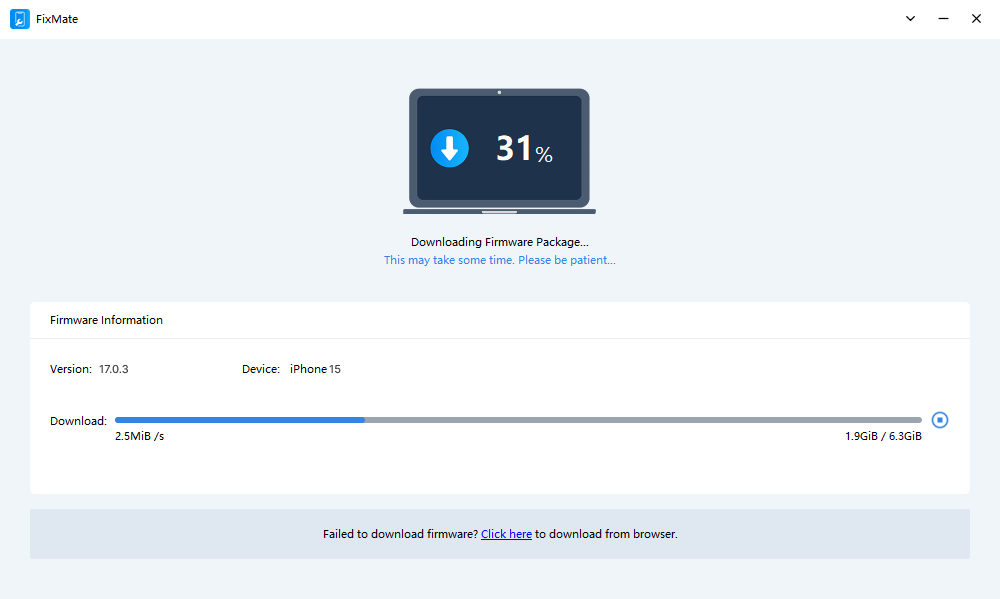
Крок 4 : You’ll need to click on “ Рамонт ” to download the necessary firmware package for your iPhone.
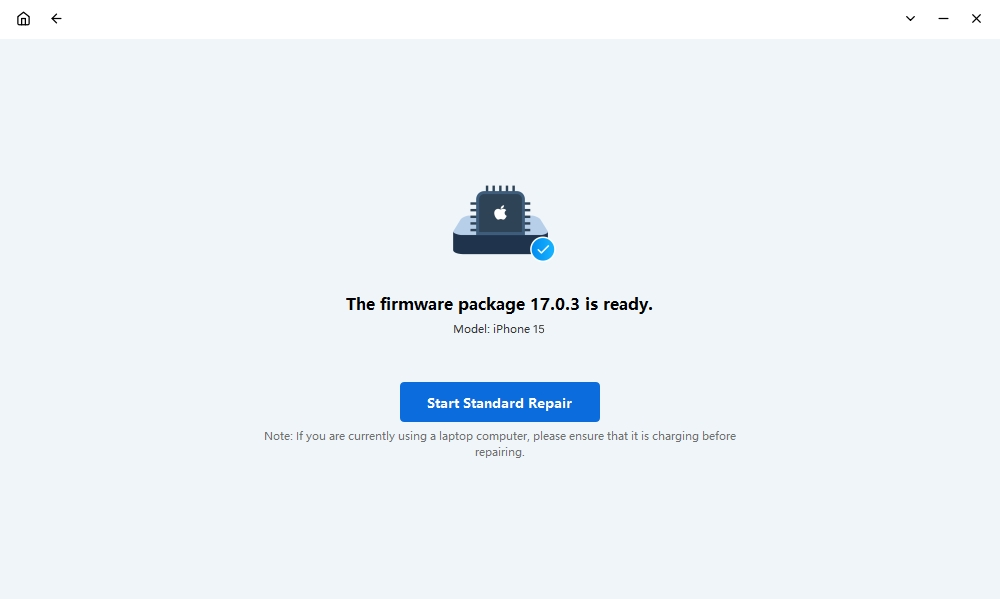
Крок 5 : After downloading, click “ Start Standard Repair ” to initiate the repair process. This will fix the issue without data loss.
Крок 6 : The repair process may take a few minutes. Once completed, your iPhone should restart, and the issue should be resolved.

Заключэнне
Dealing with an iPhone stuck on the charging screen can be frustrating. While basic methods like checking your charging accessories, cleaning the port, force restarting, and using iTunes can often resolve the issue, they may not always be effective. For more stubborn problems, we highly recommend AimerLab FixMate. This professional tool can fix a wide range of iOS issues, including an iPhone stuck on the charging screen, without data loss. By following the steps in this guide and using
AimerLab
FixMate
when needed, you can effectively restore your iPhone’s functionality.
- Як падмануць Pokemon Go на iPhone?
- Агляд Aimerlab MobiGo GPS Location Spoofer
- Як змяніць месцазнаходжанне на вашым iPhone?
- 5 лепшых фальшывых спуфераў месцазнаходжання GPS для iOS
- Вызначэнне GPS Finder месцазнаходжання і прапановы спуфера
- Як змяніць сваё месцазнаходжанне ў Snapchat
- Як знайсці/абагуліць/схаваць месцазнаходжанне на прыладах iOS?